使用 Expo 打包 iOS 企业版 APP

Expo 为 React Native 开发提供了不少便利性,其中有个最方便的功能就是 APP 打包,Expo 让开发者无需使用 Xcode 和 Android Studio 就可以完成 APP 的打包工作。
下面就来介绍一下如何使用 Expo 打包 iOS 企业版的 APP。
Apple 开发者账号说明
在打包 iOS APP 之前,你首先需要一个 Apple 开发者账号,需要一个什么样的开发者账号呢?请看下面:
| 类型 | 用途 | 限制 | 费用 |
|---|---|---|---|
| 个人开发者账号 | 用于个人开发者上传和发布应用,在 App Store 上显示个人开发者信息 | 只能有一个开发者,100 个 iOS 设备 UDID 测试 | $99 |
| 团体账号 | 用户团队、公司开发者上传和发布应用,在 App Store 上显示团体名称 | 允许多个账号管理,100 个 iOS 设备 UDID 测试 | $99 |
| 企业账号 | 用于企业发布应用,使用该证书的应用不需要审核,但是也不能发布到 App Store | 不能上传到 App Store, 无测试设备数量限制 | $299 |
企业账号相对其他类型的账号来说,可以免去 App Store 审核的流程,对于快速开发迭代的项目有比较大的帮助。那么要怎么知道自己的开发者账号是哪种类型呢?
查看开发者账号类型
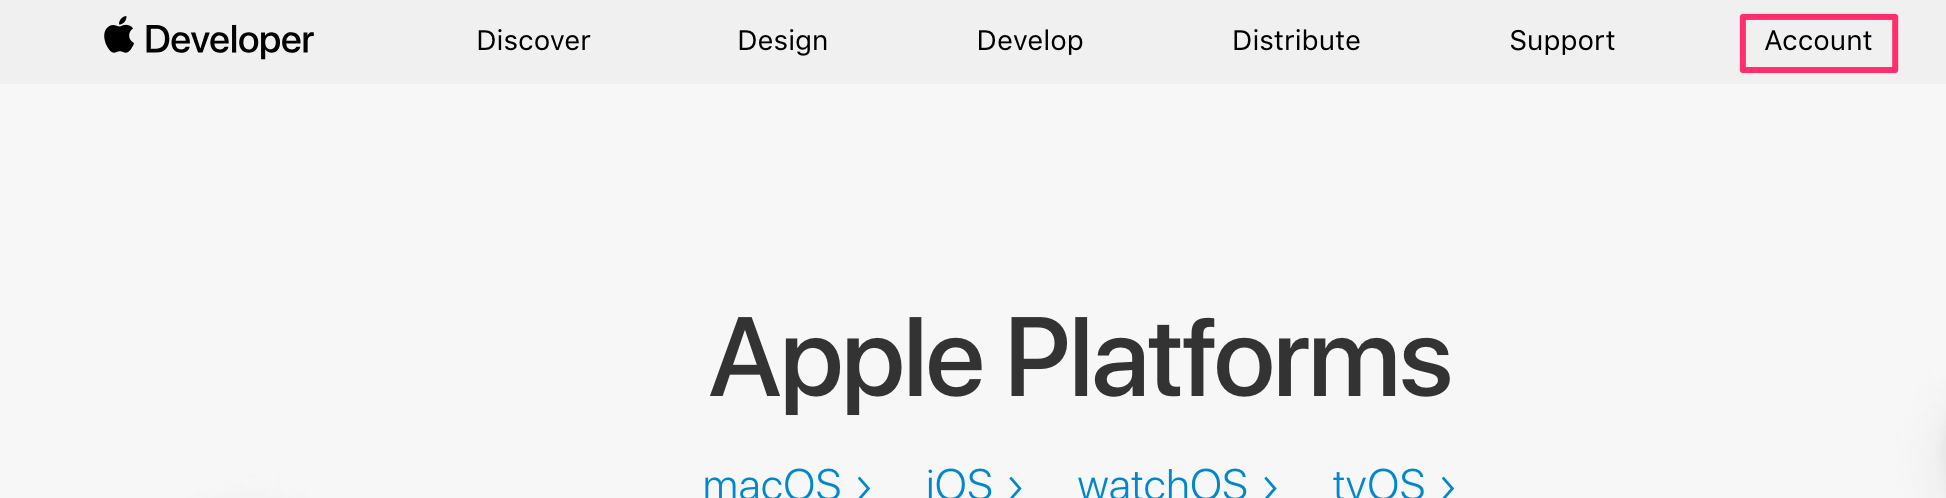
假设现在你已经申请好了一个企业账号,那么就可以登陆 Apple 开发者网站,然后点击Account一栏。
再点击侧边栏的Membership,如果看到Program Type是Apple Developer Enterprise Program和Entity Type是In-House / Enterprise,那么证明你的开发者账号类型就是企业账号。

创建 App ID
确认完自己的账号是企业账号后,就可以开始做一些打包 APP 的准备工作了。
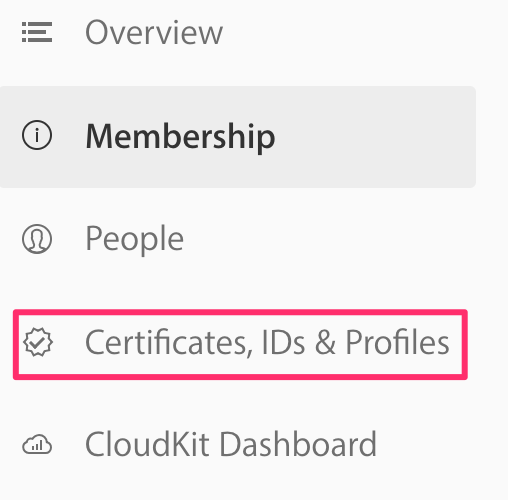
首先我们需要创建我们 APP 的 ID,这个过程是在 Apple 的开发者网站上面进行的,同样先登录 Apple 开发者网站 并进去Account页面,然后点击侧边栏的Certificates, IDs & Profiles。
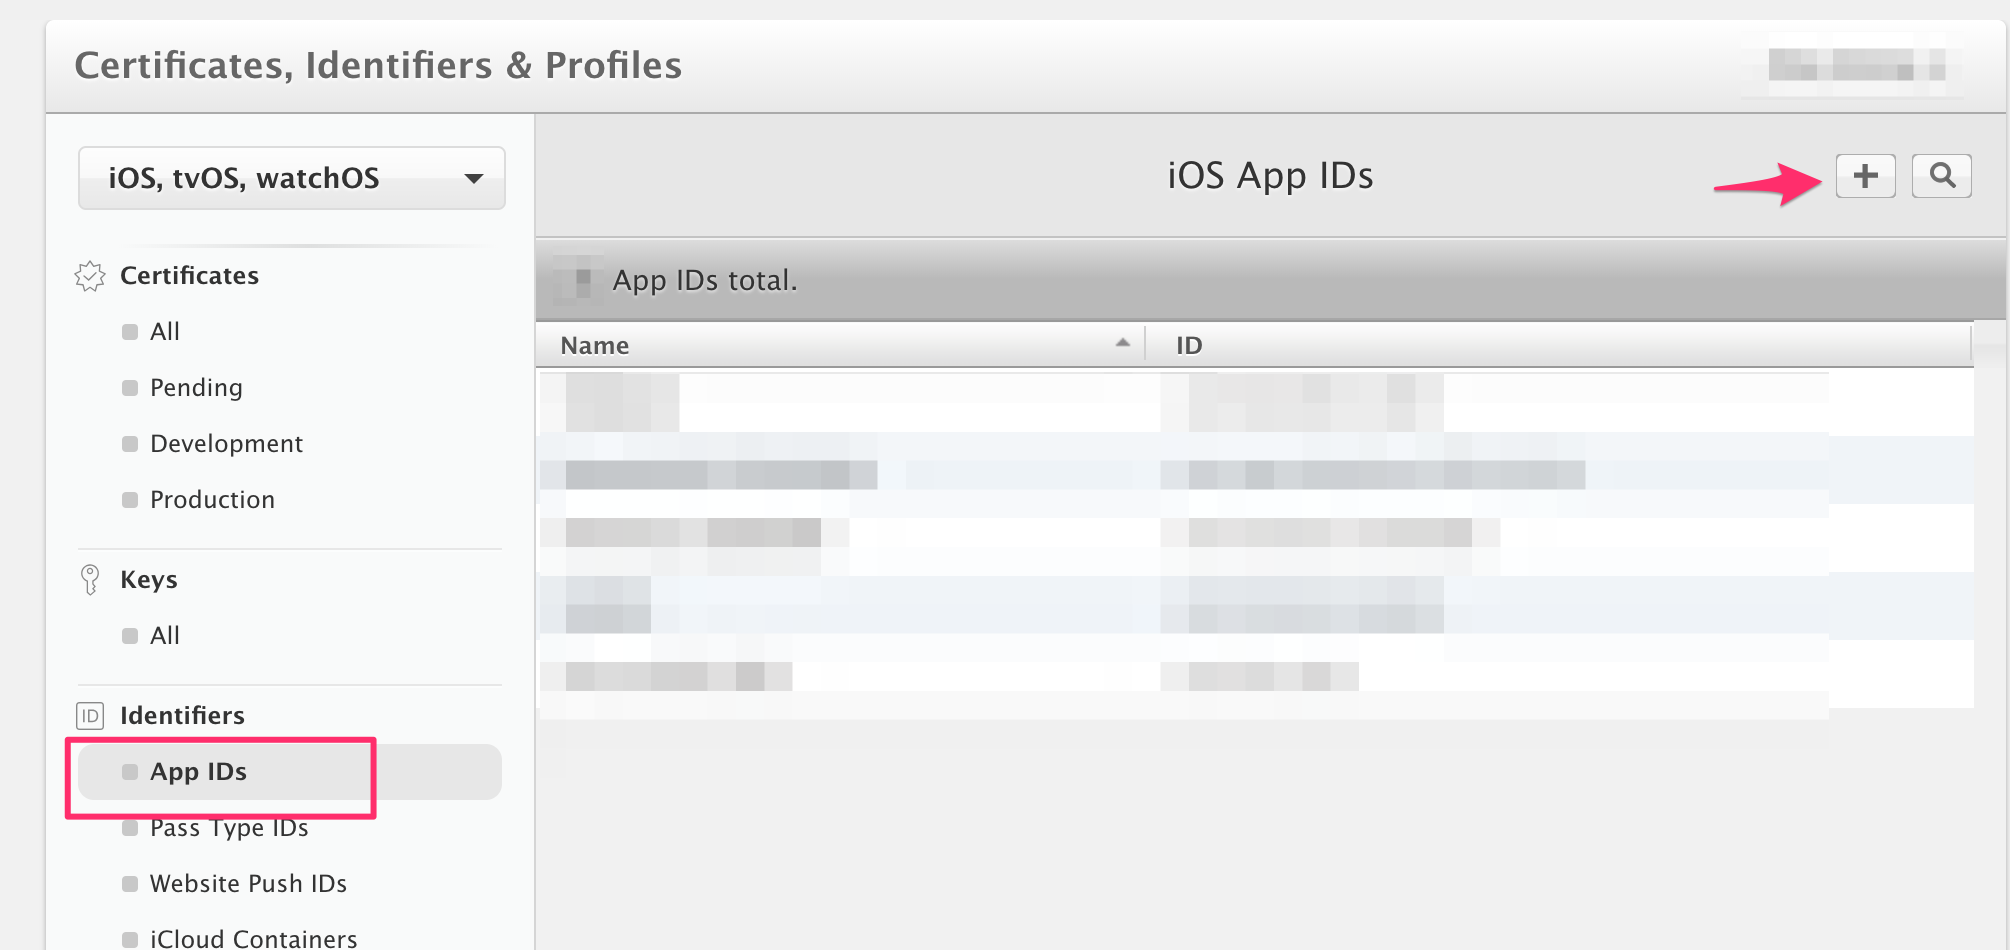
进入Certificates, IDs & Profiles页面后,点击侧边栏的App IDs,然后再点击+(添加)按钮。
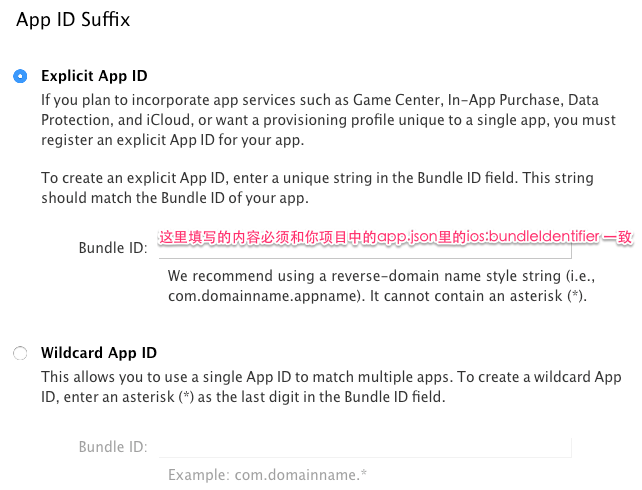
在弹出的新建页面中先填写App ID Description,这里可以随便写,只要不和已有的 App ID 重复就行。

然后再填写Bundle ID,注意这里需要和你的 Expo 工程中的配置项 bundleIdentifier 保持一致,推荐是域名的形式,比如com.your.app。
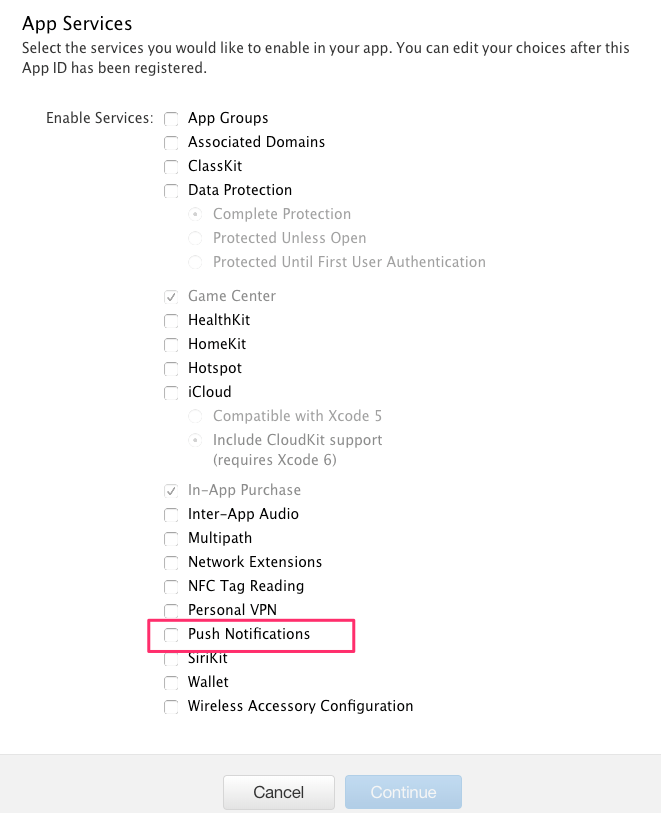
下一步是选择 App 所需的服务,比如你的 APP 需要消息推送的功能,那么就要勾选里面的Push Notifications,最后点击Continue按钮。
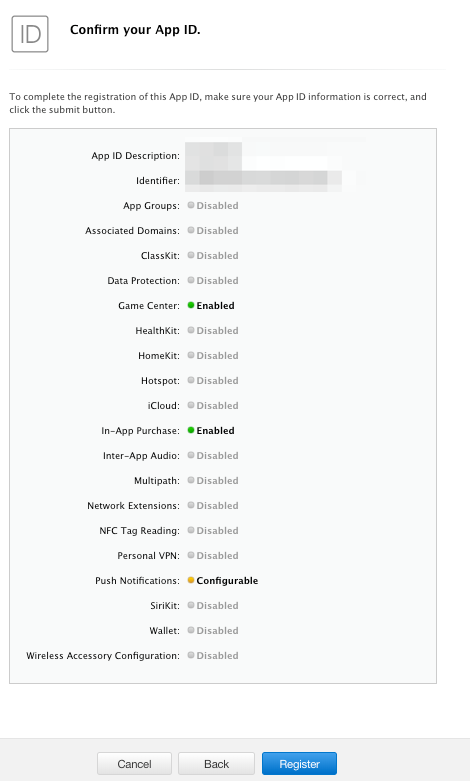
最后再确认页面上确认信息无误后,点击Register按钮即创建 App ID 成功了。
生成 Certificate Signing Reuest(CSR)文件
接下来是生成 CSR 文件,这个文件是后面生成发布证书所需要的,这一步骤在本地 Mac 电脑上就可以完成,无需上 Apple 开发者网站。
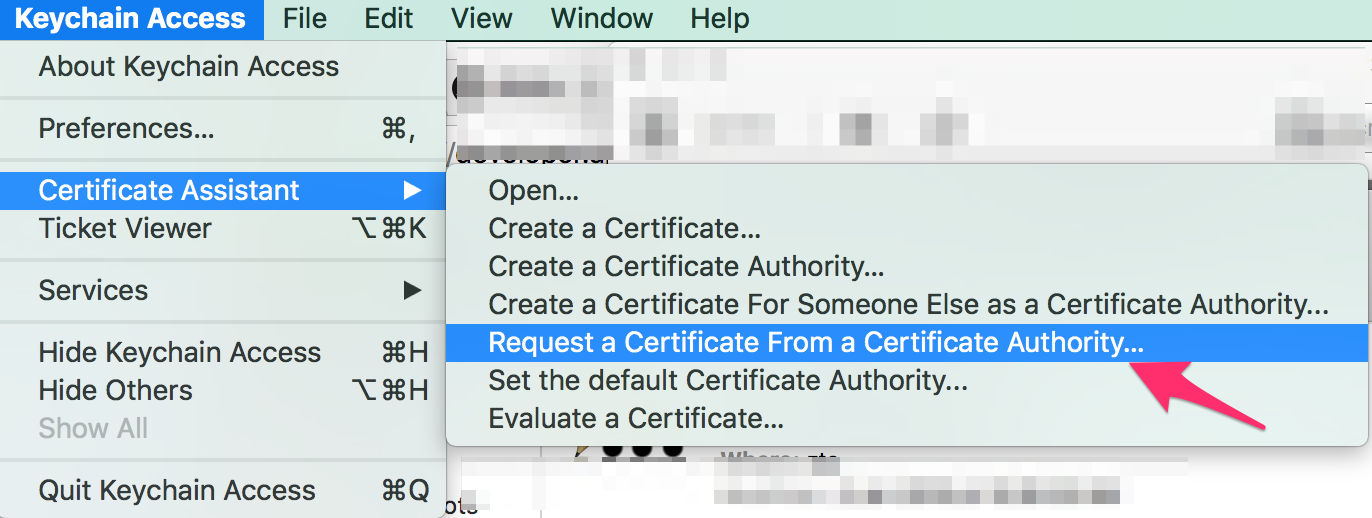
首先在 Mac 电脑上打开Keychain Access,然后在左上角菜单上选择Request a Certification From a Certificate Authority...,如下图所示:
在创建页面上添加你的 Apple 用户邮箱,并在Request is 中选择Saved to disk,最后点击Continue按钮。
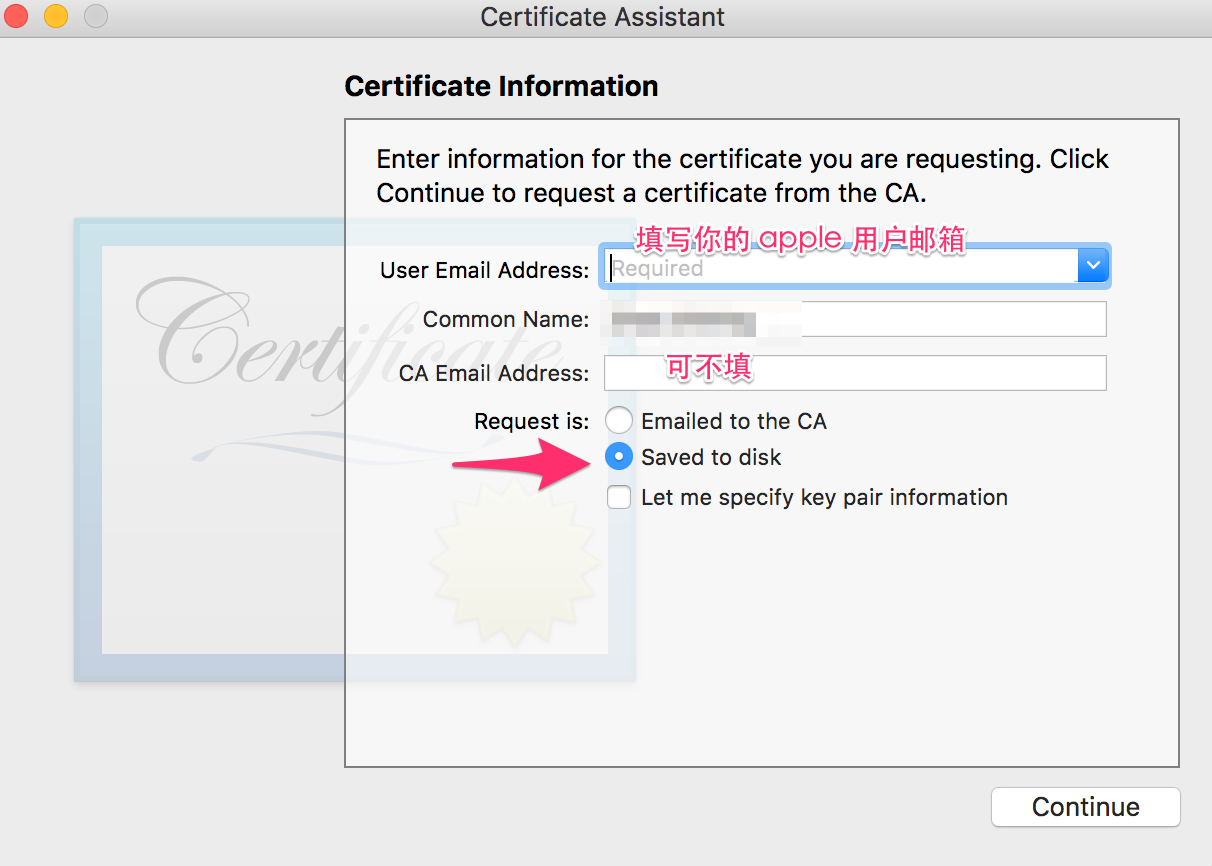
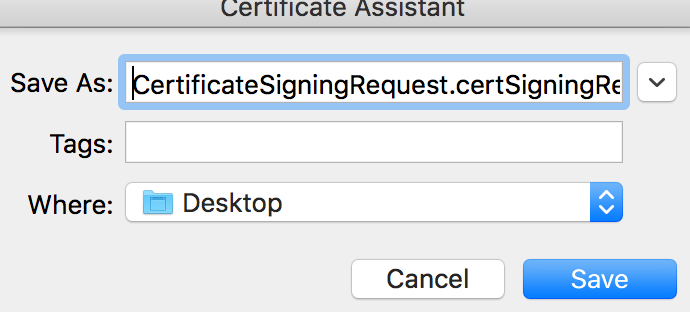
选择文件的保存地址然后点击Save按钮即完成 CSR 文件的创建了,文件的后缀为certSigningRequest。
发布证书
接着咱们来生成发布 APP 必不可少的一个文件——发布证书,而且需要将其导出为p12文件,因为这种类型的文件才是 Expo 所需要的,这一步骤需要在 Apple 开发者网站和本地电脑进行。
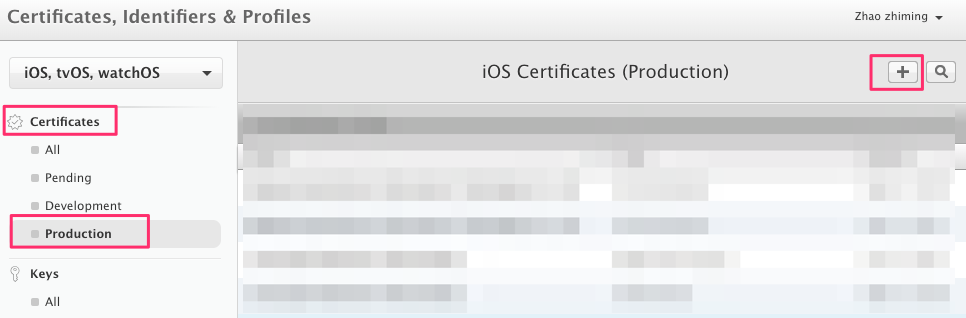
和生成App ID一样,首先咱们进去到Certificates, IDs & Profiles页面,点击侧边栏的Certificates下面的Production,表示生产环境上的证书。然后点击右上角的+(添加)按钮。
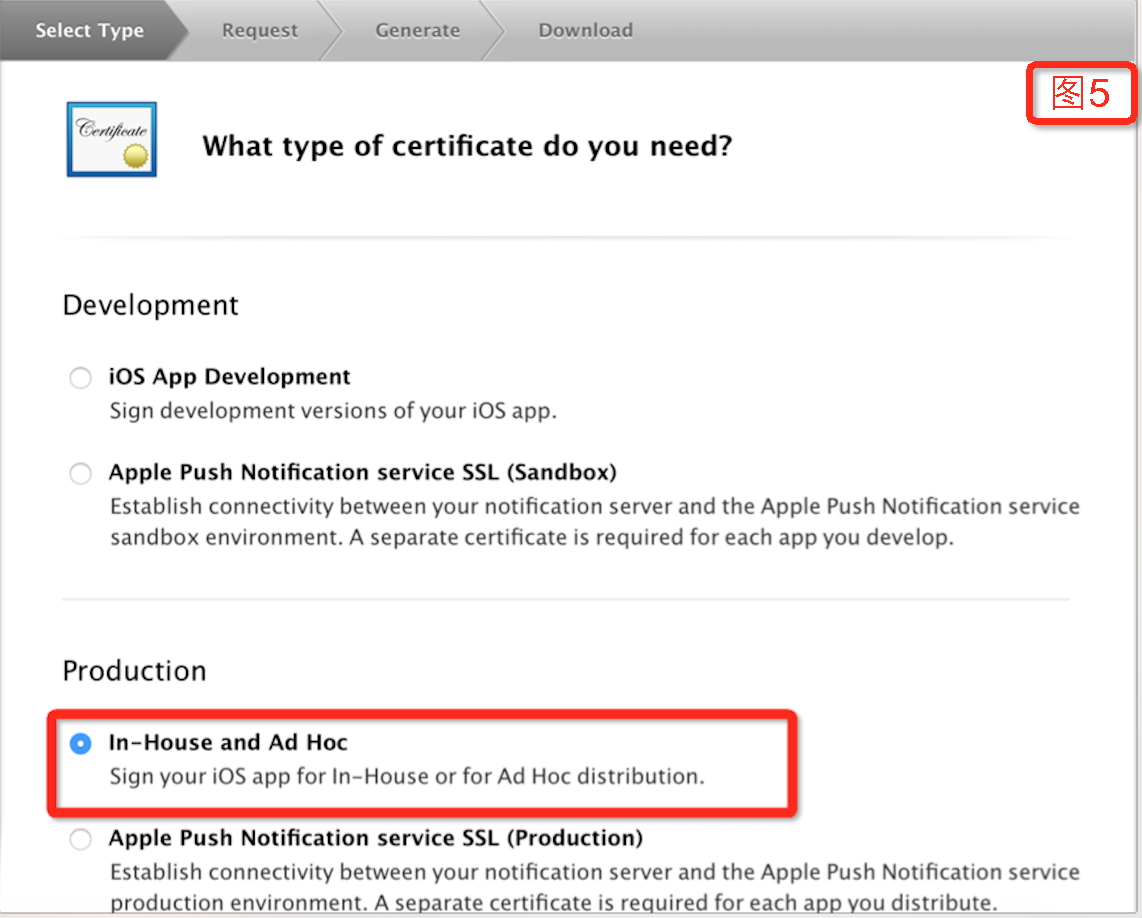
选择证书类型,因为我们是制作企业版 APP,所以这里选择In-House and Ad Hoc。
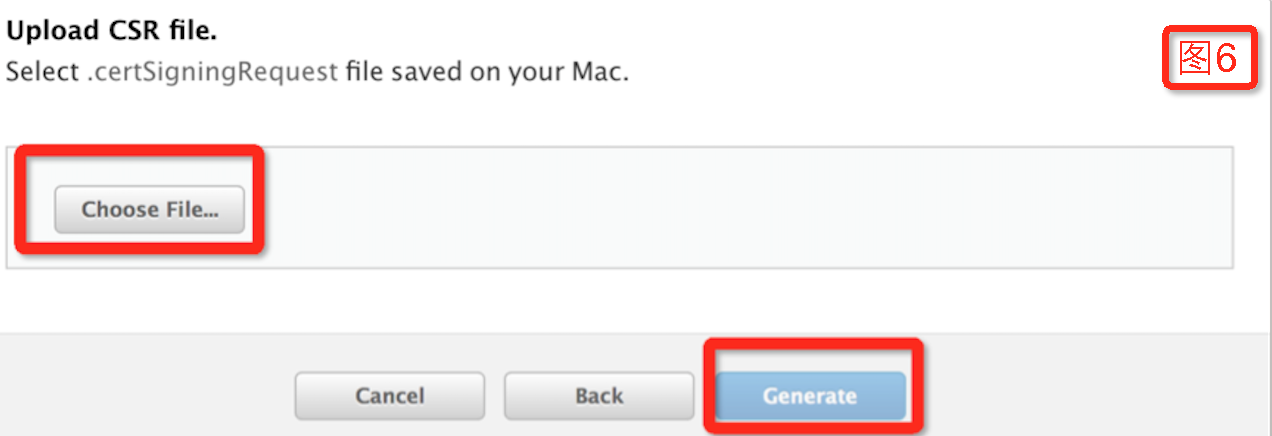
然后选择之前的 CSR 文件并上传,完了点击Generate按钮,这样一个后缀为cer的文件会下载到你的电脑。
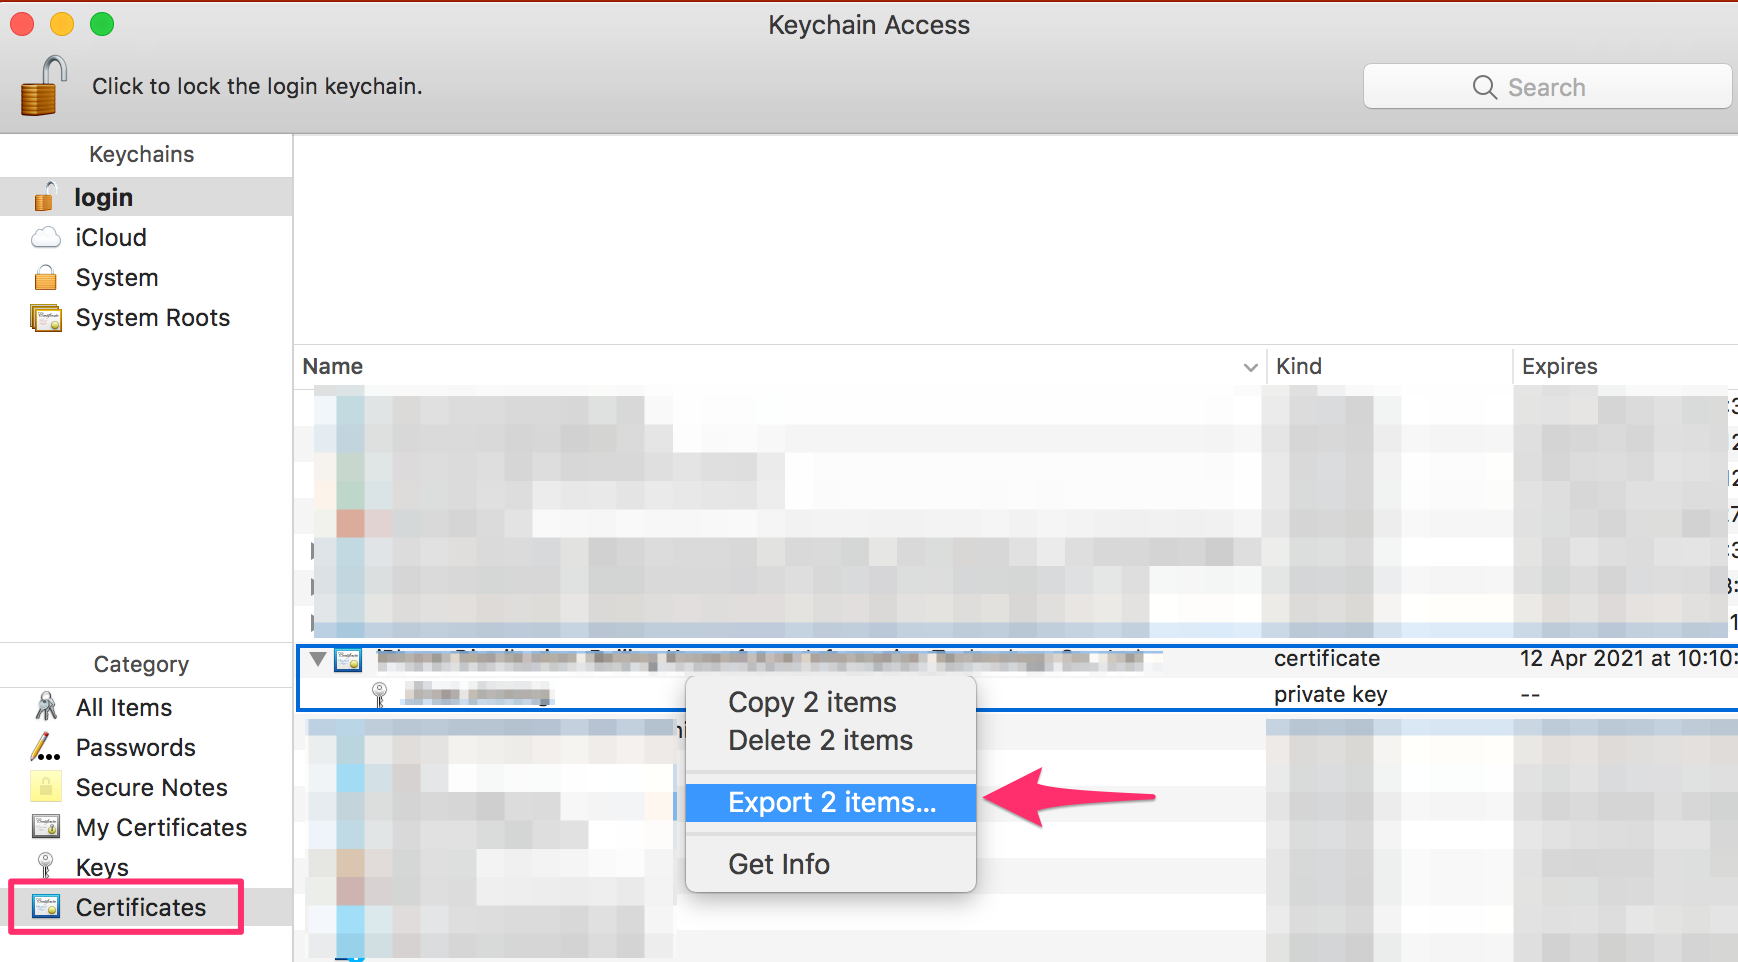
双击cer 文件会将发布证书导入到你的Keychain,我们在Keychain选择Certificates,在里面找到刚导入的证书,然后同时选中证书和私钥,注意这里要同时选择这 2 个文件,不然导出的文件会有问题,然后点击右键选择Export 2 items
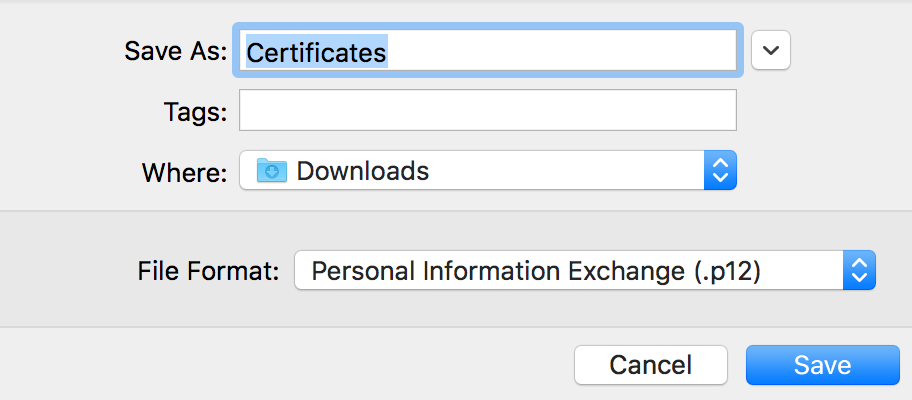
在弹出的对话框中我们选择好文件保存路径并点击保存按钮,这样发布证书的p12文件就创建完成了。
消息推送证书
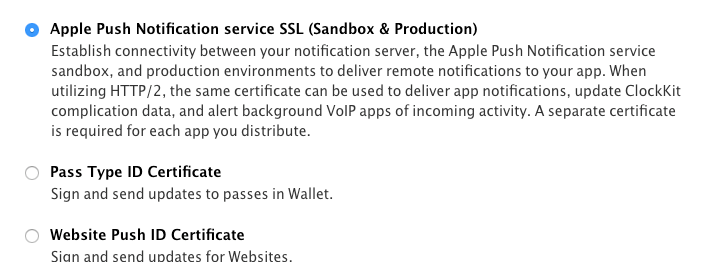
消息推送证书的p12文件和发布证书的创建过程基本一致,所不同的是在选择证书类型时要选择Apple Push Notification Service SSL (Sandbox & Production)。
还有需要选择对应的 App Id:
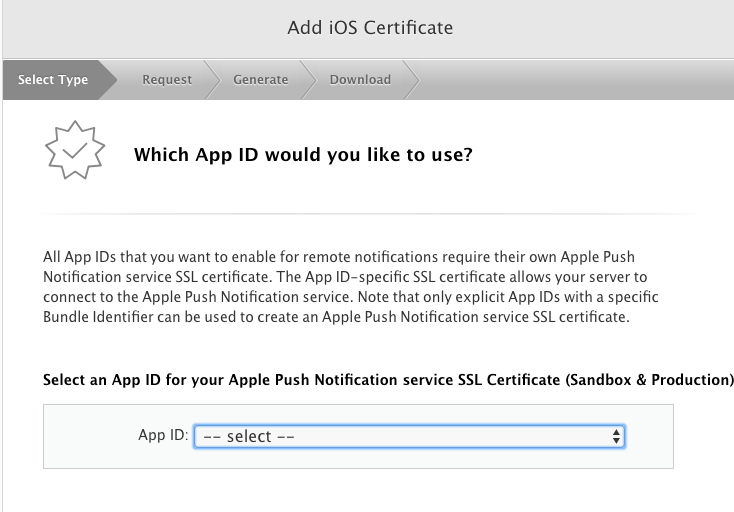
其他步骤就和发布证书完全一样。
APP 描述文件
最后一个准备文件是 APP 的描述文件,同样是在 Apple 开发者网站上生成的。
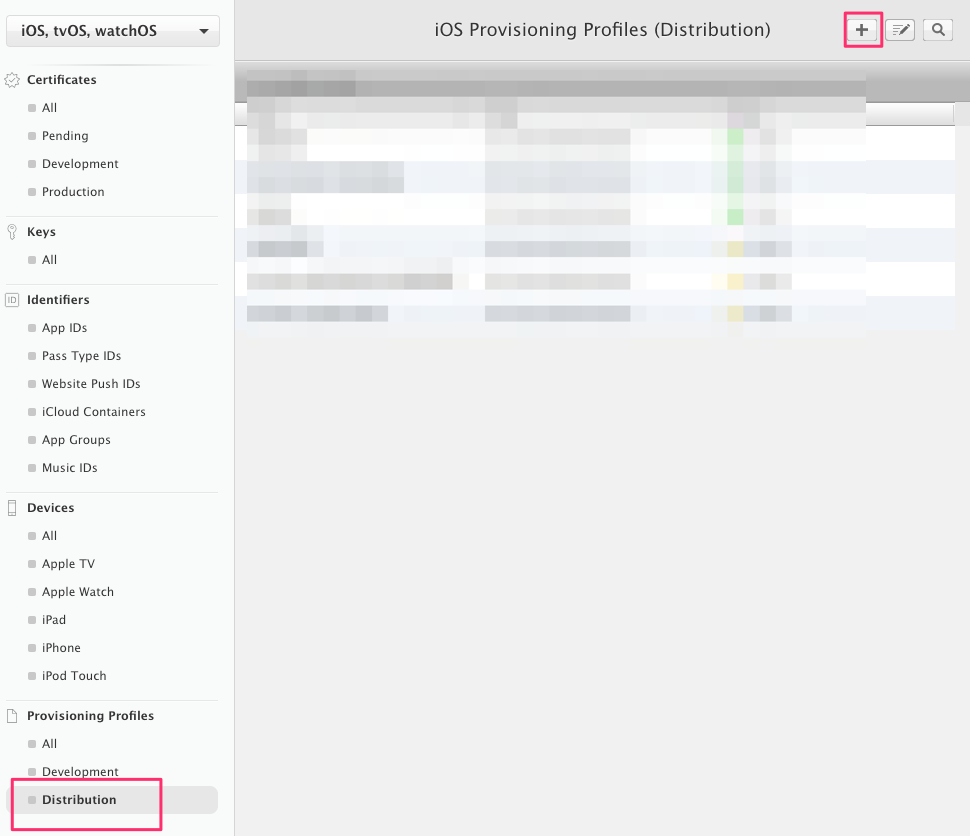
进入Certificates, IDs & Profiles页面后,点击侧边栏的Provisioning Profiles的Distribution,然后再点击+(添加)按钮。
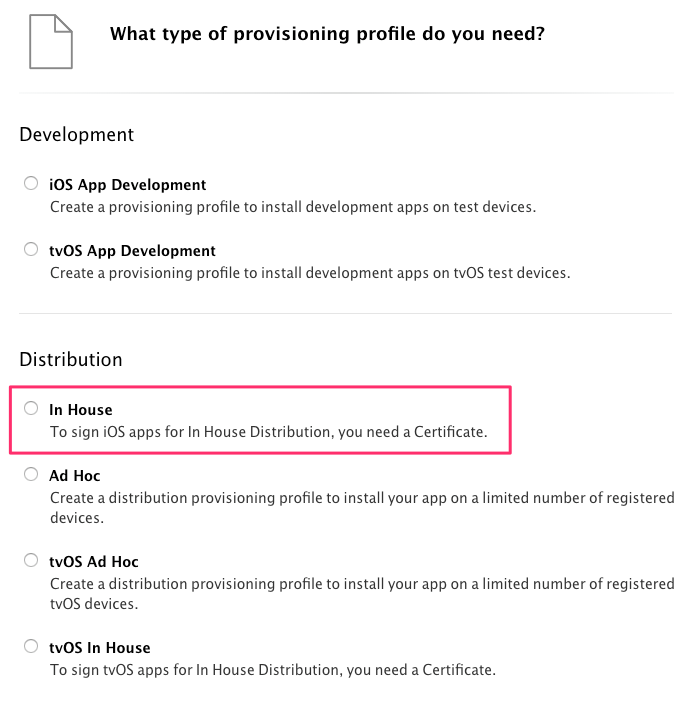
然后是选择描述文件的类型,这里我们需要和发布证书一样选择In House。
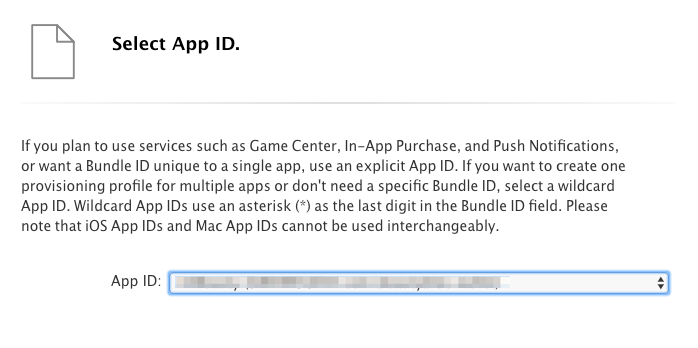
接着选择 App Id。
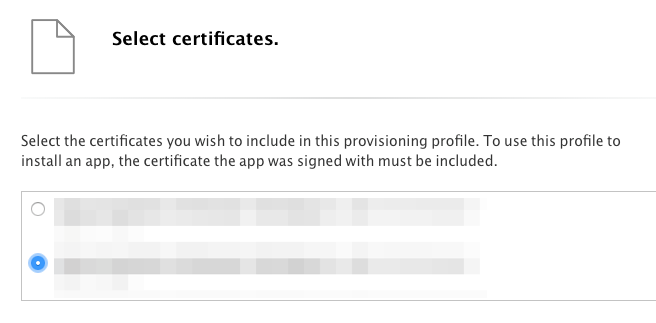
再选择发布证书。
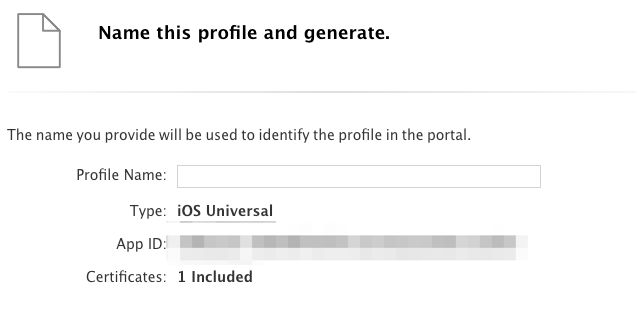
填写描述文件名称。
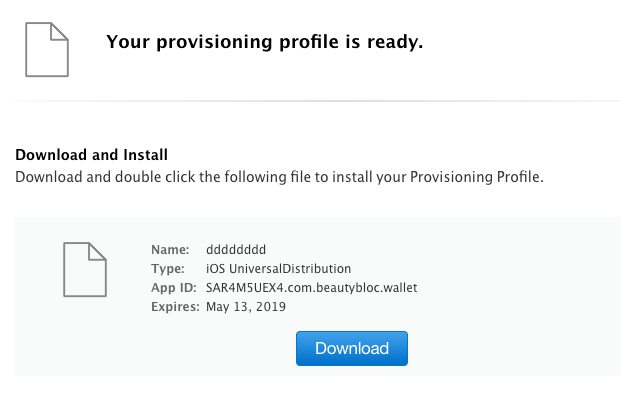
最后下载该文件即完成 APP 描述文件的创建,该文件的后缀是mobileprovision。
Expo 发布
所有东西都准备好之后,我们就可以开始召唤神龙了。。。哦不,就可以开始用 Expo 来打包 APP 了。
Expo 的打包 iOS APP 命令是exp build:ios,参数-e是指打包企业版 APP,-c为清除之前上传的文件,然后重新上传,没有-c参数的话会延用上次上传的文件。
1 | $ exp build:ios -e -c |
接着 Expo 会提示你选择:
- 让 Expo 来帮忙生成证书文件
- 还是自己上传证书文件
如果 APP 是要发布到 App Store 的话,可以选择第一种方式来打包,但我们是企业版 APP,所以这里要选择自己上传证书文件。
1 | 16:31:44 [exp] Checking if current build exists... |
接着 Expo 会要求你输入你的 Apple 开发者账号密码进行登陆认证。
1 | We need your Apple ID/password to ensure the correct teamID and appID |
如果你的账号有多个开发者账号,需要选择正确的那一个,即企业账号。
1 | 16:32:05 [exp] Validating Credentials... |
然后我们就可以来上传之前准备好的文件了,依次上传的文件是:发布证书的 p12 文件,消息推送证书的 p12 文件和 APP 的描述文件。
1 | 16:32:58 [exp] |
Expo 将文件上传到他们的服务器进行打包,同时会给出打包程序的链接,你可以通过链接了解打包的进度,一旦完成打包,最后会给出打包好的文件的下载链接,你也可以直接上 Expo 的网站上面点击下载按钮进行下载。
1 | 16:34:10 [exp] Publishing to channel 'default'... |
总结
从上面的过程可以看到,之前的准备工作都是 iOS APP 打包所需要的(如果你的 APP 是上传到 App Store,Expo 还可以帮你完成这一部分的工作),后面就直接交给 Expo 处理了,你唯一要做的只是敲一下命令,比原来的打包方式效率提高了很多。
如果你对这种方式感兴趣的话,也不妨下载 Expo 来试一下吧。